What is a Breadboard? – 5 Mistakes to Avoid While Using Breadboards.
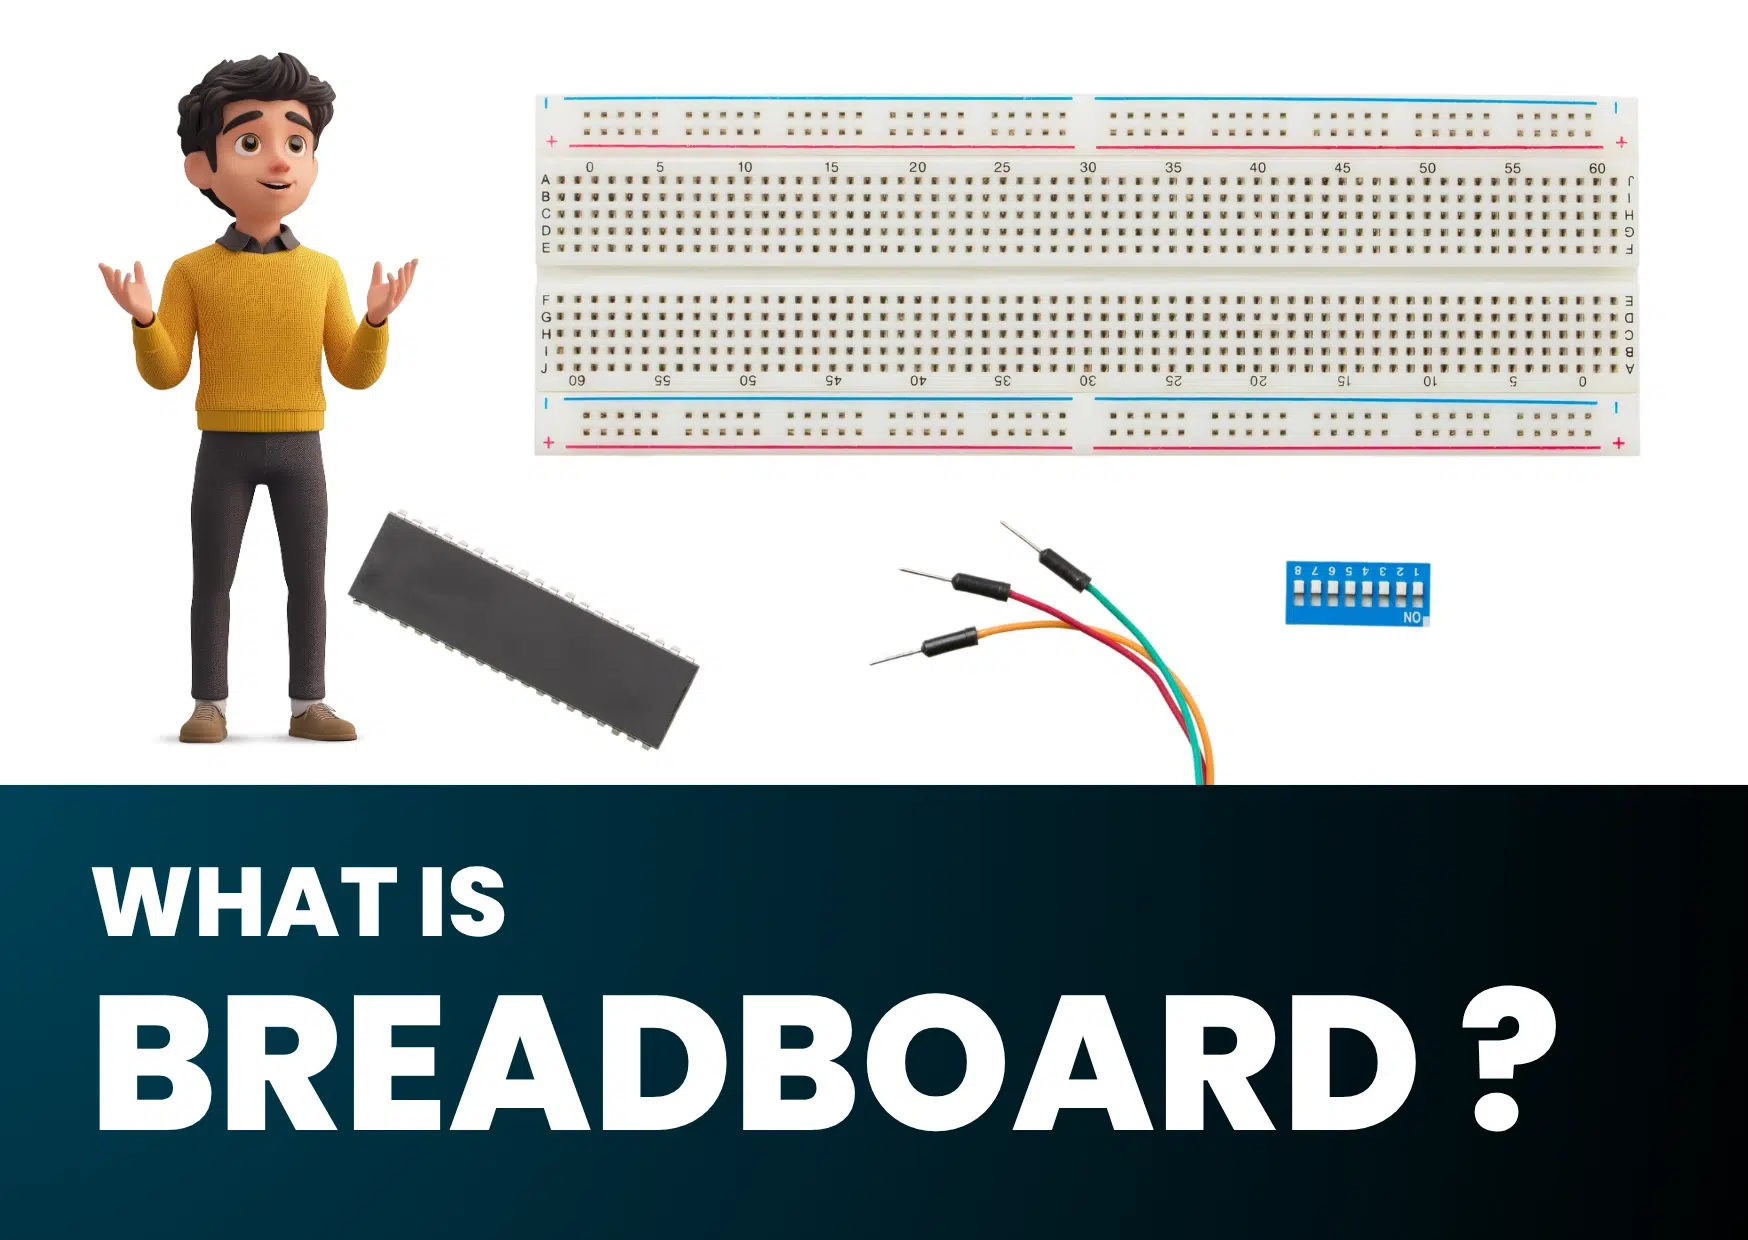
🔰 Introduction – What is a Breadboard?
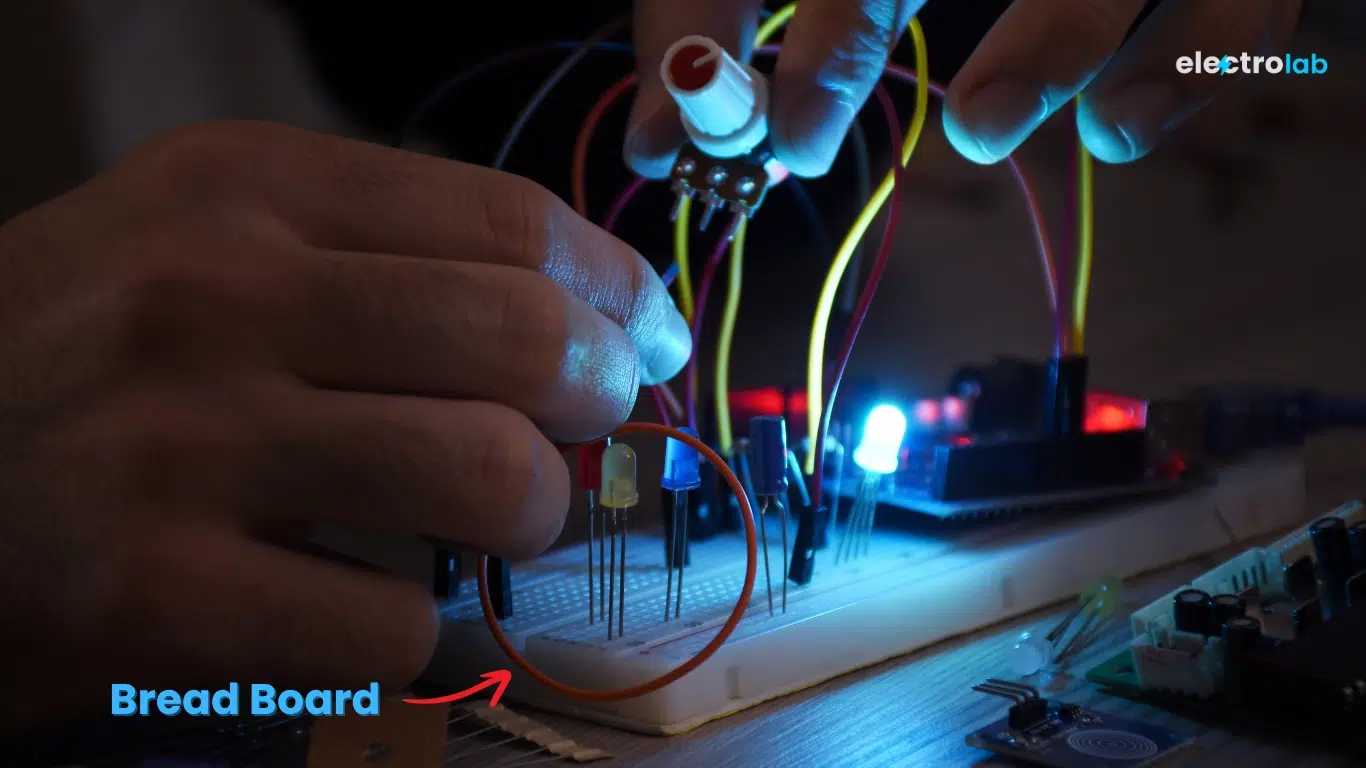
What is a breadboard? A breadboard is a simple and reusable platform used to build and test electronic circuits without soldering. It is an essential tool for beginners, students, and hobbyists. With a breadboard, you can quickly assemble, modify, and troubleshoot circuits before making a permanent version.
⚙️ Basics – What is a Breadboard Made Of ?
Breadboards are made of plastic and contain rows of tiny holes. Inside, metal strips connect these holes in a structured pattern, allowing easy placement of components like resistors, LEDs, and wires. This enables you to build circuits without the need for soldering.
✅ Benefits of Using a Breadboard
- 🔌 No soldering required – build and modify with ease
- ♻️ Reusable – test multiple projects using the same board
- 🎓 Great for learning – ideal for students and DIY electronics
- 🧪 Fast prototyping – test your idea before committing to a PCB
- 💸 Budget-friendly – widely available and inexpensive
📏 Types of Breadboards in Detail – Mini, Half, and Full
Knowing the type of breadboard to use can improve your circuit design efficiency. Below is a detailed guide on the three most commonly used types:
1. 🧱 Full-Size Breadboard
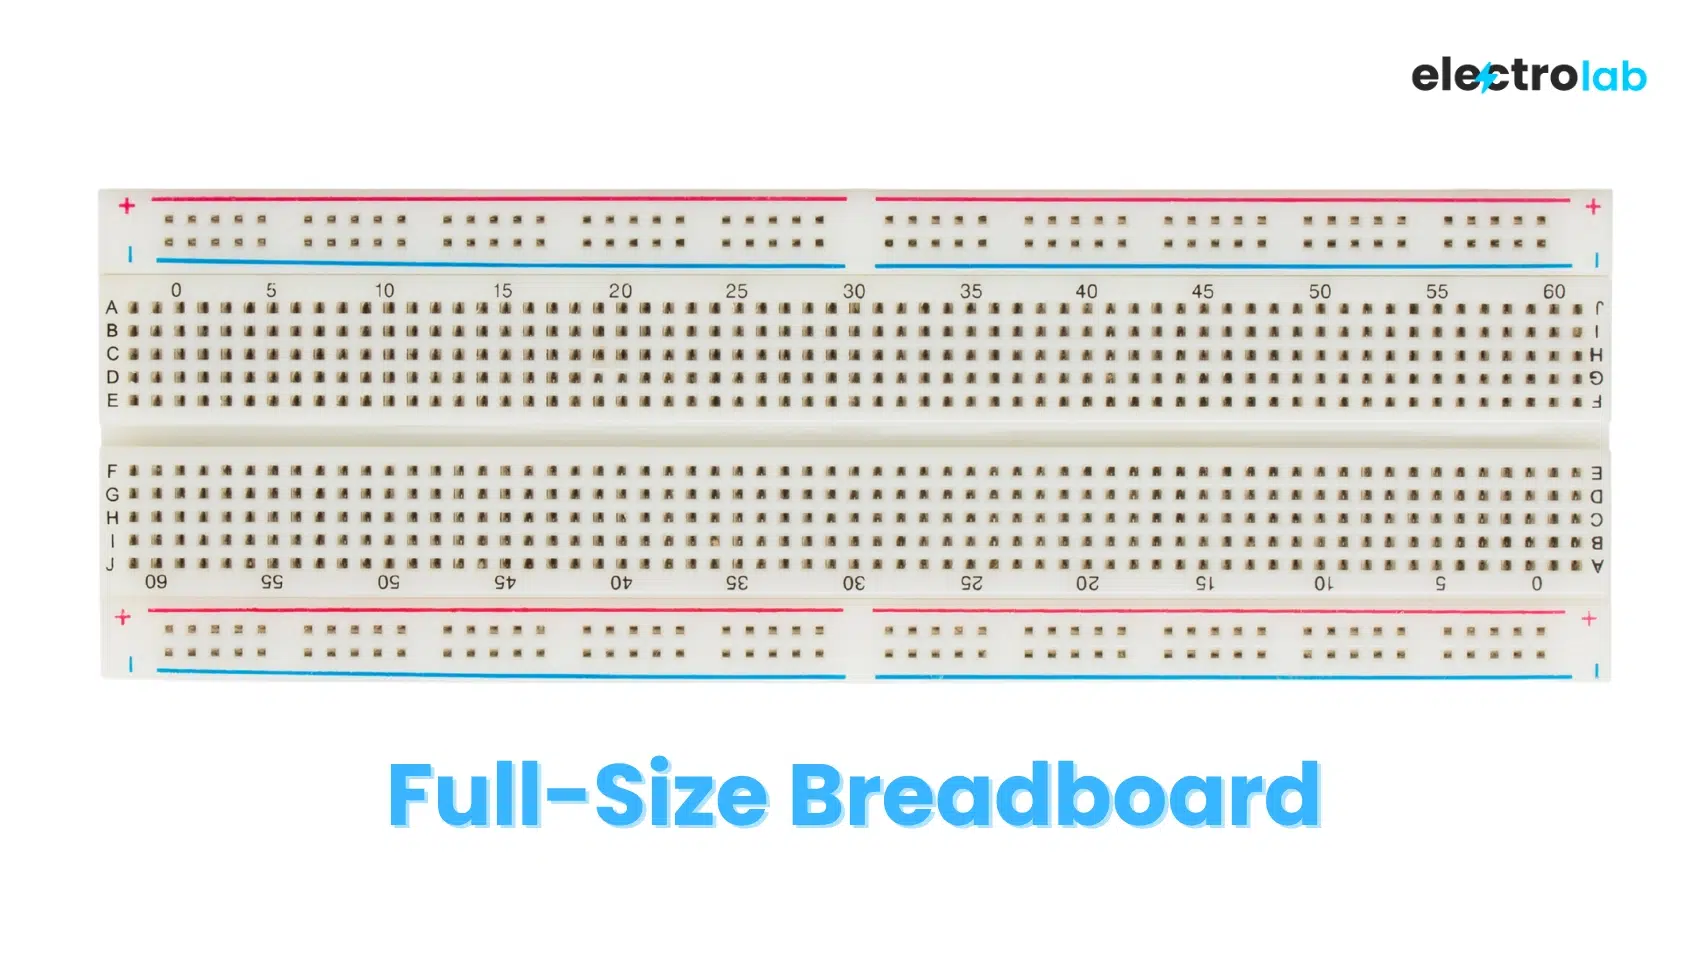
| Feature | Details |
|---|---|
| Tie Points | ~830 |
| Size | ~6.5 x 2.1 inches (165mm x 54mm) |
| Layout | 2 power rails per side + 63 rows of 5-hole strips |
| Fits | Arduino Uno/Nano, Raspberry Pi, ICs, sensors |
| Best For | Full circuits, prototyping big projects |
Advantages:
- Enough space for complex circuits
- Dual power rails ensure clean power distribution
- Ideal for classroom projects and microcontroller setups
Use Case Example:
Create a full Arduino-based traffic light system with 3 LEDs, buzzer, and switch.
2. 🧱 Half-Size Breadboard
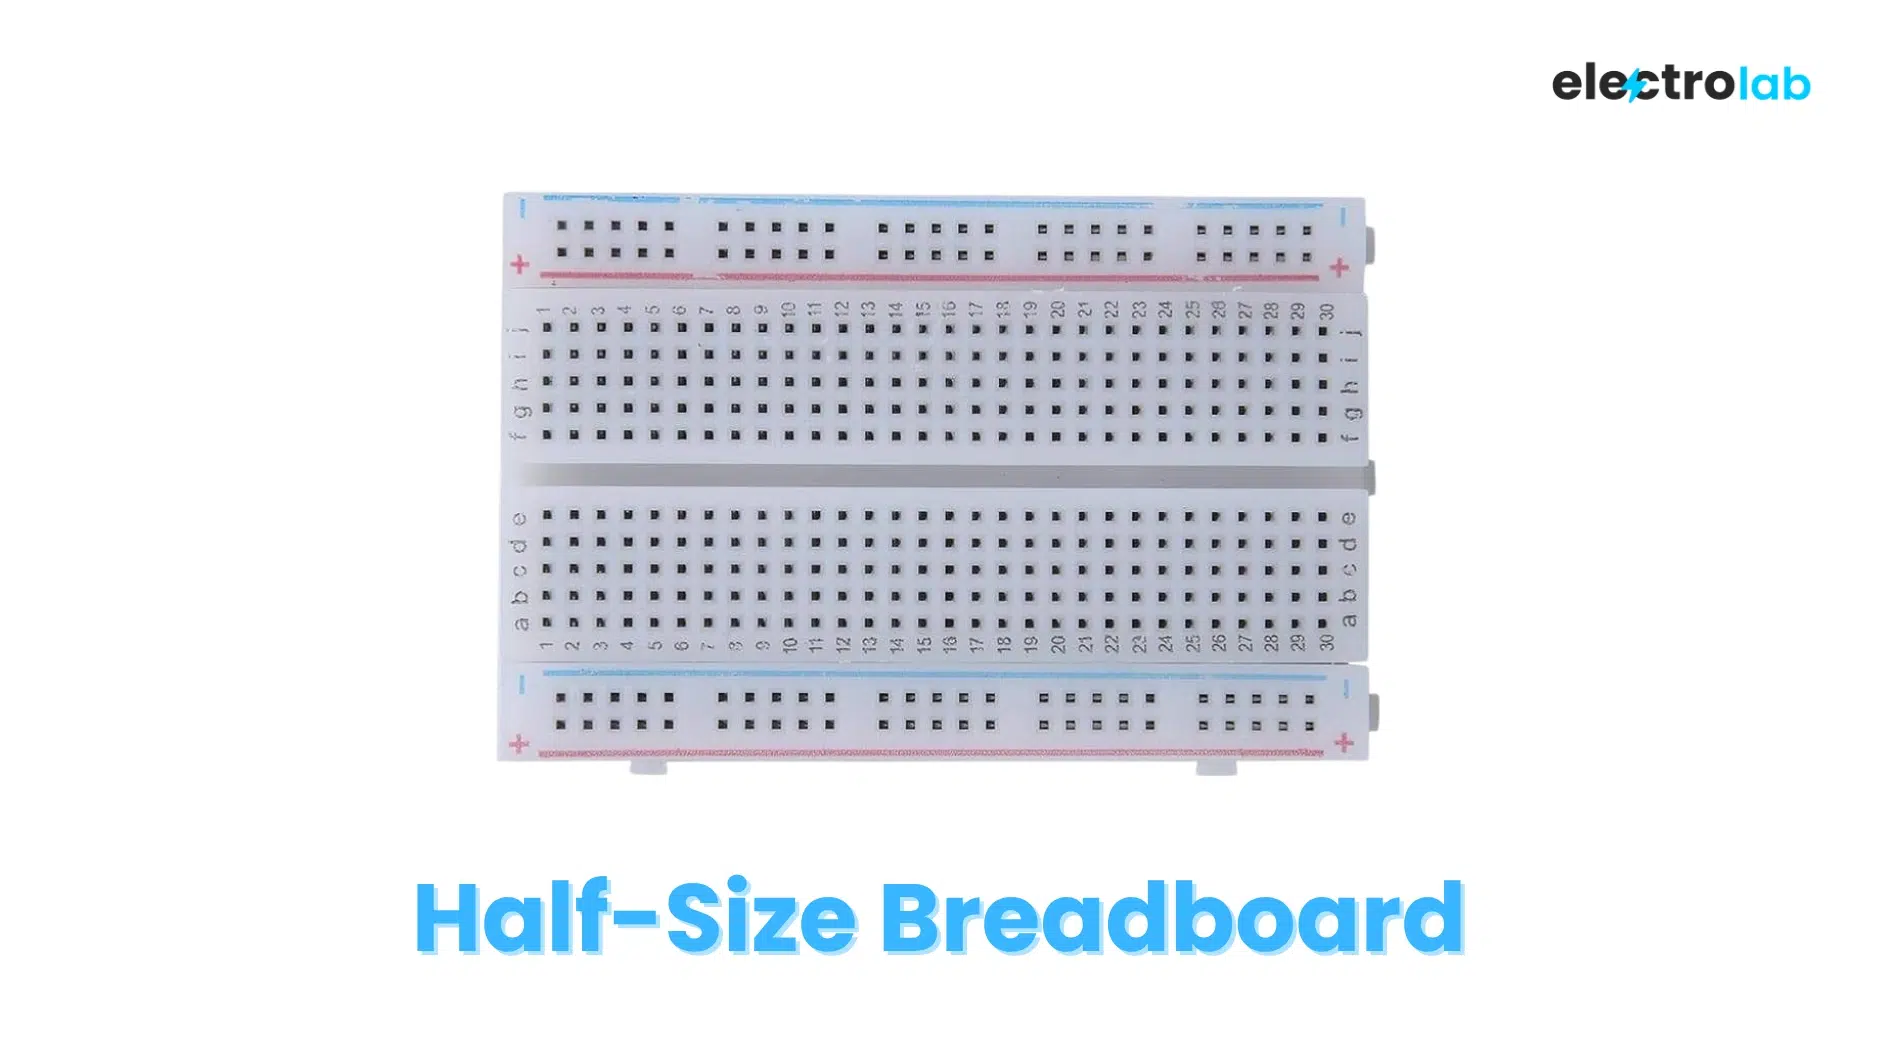
| Feature | Details |
|---|---|
| Tie Points | ~400 |
| Size | ~3.3 x 2.1 inches (84mm x 54mm) |
| Layout | 1 power rail per side + 30 rows of 5-hole strips |
| Fits | ICs, sensors, basic microcontrollers |
| Best For | Mid-sized circuits, portable kits, classroom demos |
Advantages:
- Portable and compact
- Ideal for battery-powered circuits
- Perfect for breadboarding basic Arduino Nano projects
Use Case Example:
Build an IR obstacle detection circuit with a Nano and buzzer.
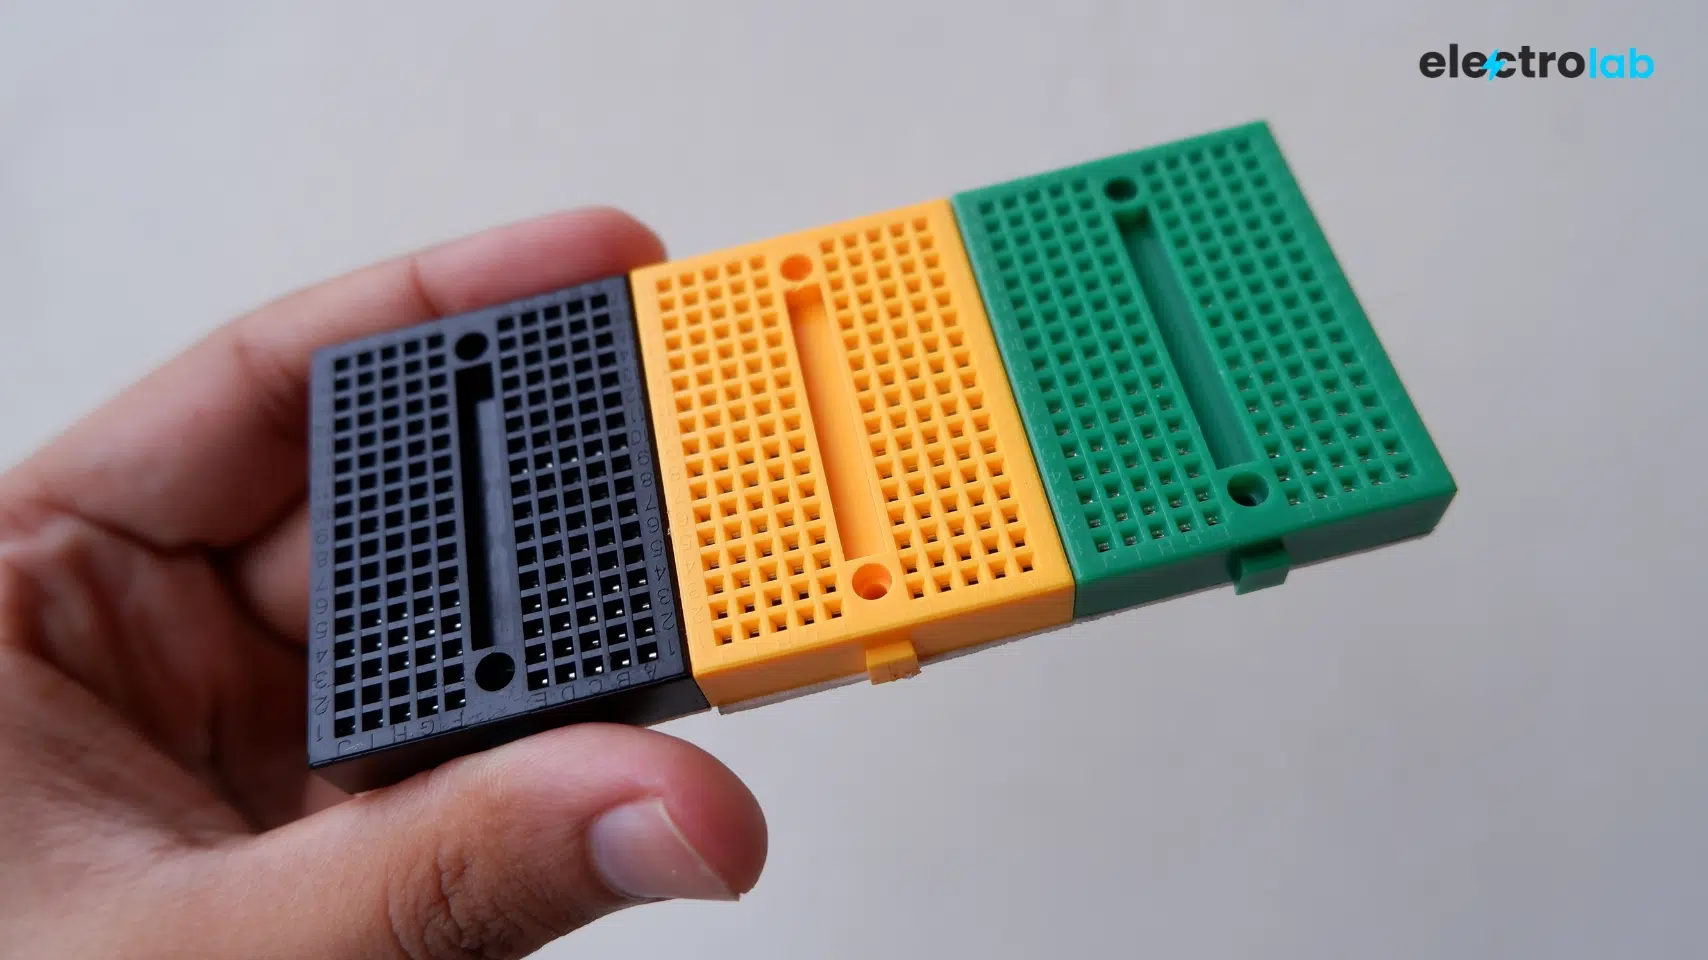
3. 🧱 Mini Breadboard
| Feature | Details |
|---|---|
| Tie Points | ~170 |
| Size | ~1.8 x 1.4 inches (46mm x 35mm) |
| Layout | No power rails, 17 rows of 5-hole terminal strips |
| Fits | LEDs, resistors, small ICs |
| Best For | Quick tests, space-saving builds, wearable projects |
Advantages:
- Ultra-compact and adhesive-backed
- Ideal for quick circuit checks
- Stackable for use in tight enclosures or mobile setups
Use Case Example:
Quickly test a 555 timer LED flasher using minimal space.
📊 Quick Comparison Table – Breadboard Types
| Feature | Full Breadboard | Half Breadboard | Mini Breadboard |
|---|---|---|---|
| Tie Points | ~830 | ~400 | ~170 |
| Size | Large (~165mm) | Medium (~84mm) | Small (~46mm) |
| Power Rails | 2 per side | 1 per side | None |
| Best For | Full projects | Mid-level circuits | Quick tests |
| Portability | Low | Moderate | High |
💡 Pro Tip: If you’re wondering what is a breadboard best for, start with a half-size one for balanced use. Keep a mini version handy for experiments, and graduate to a full-size board for final prototypes.
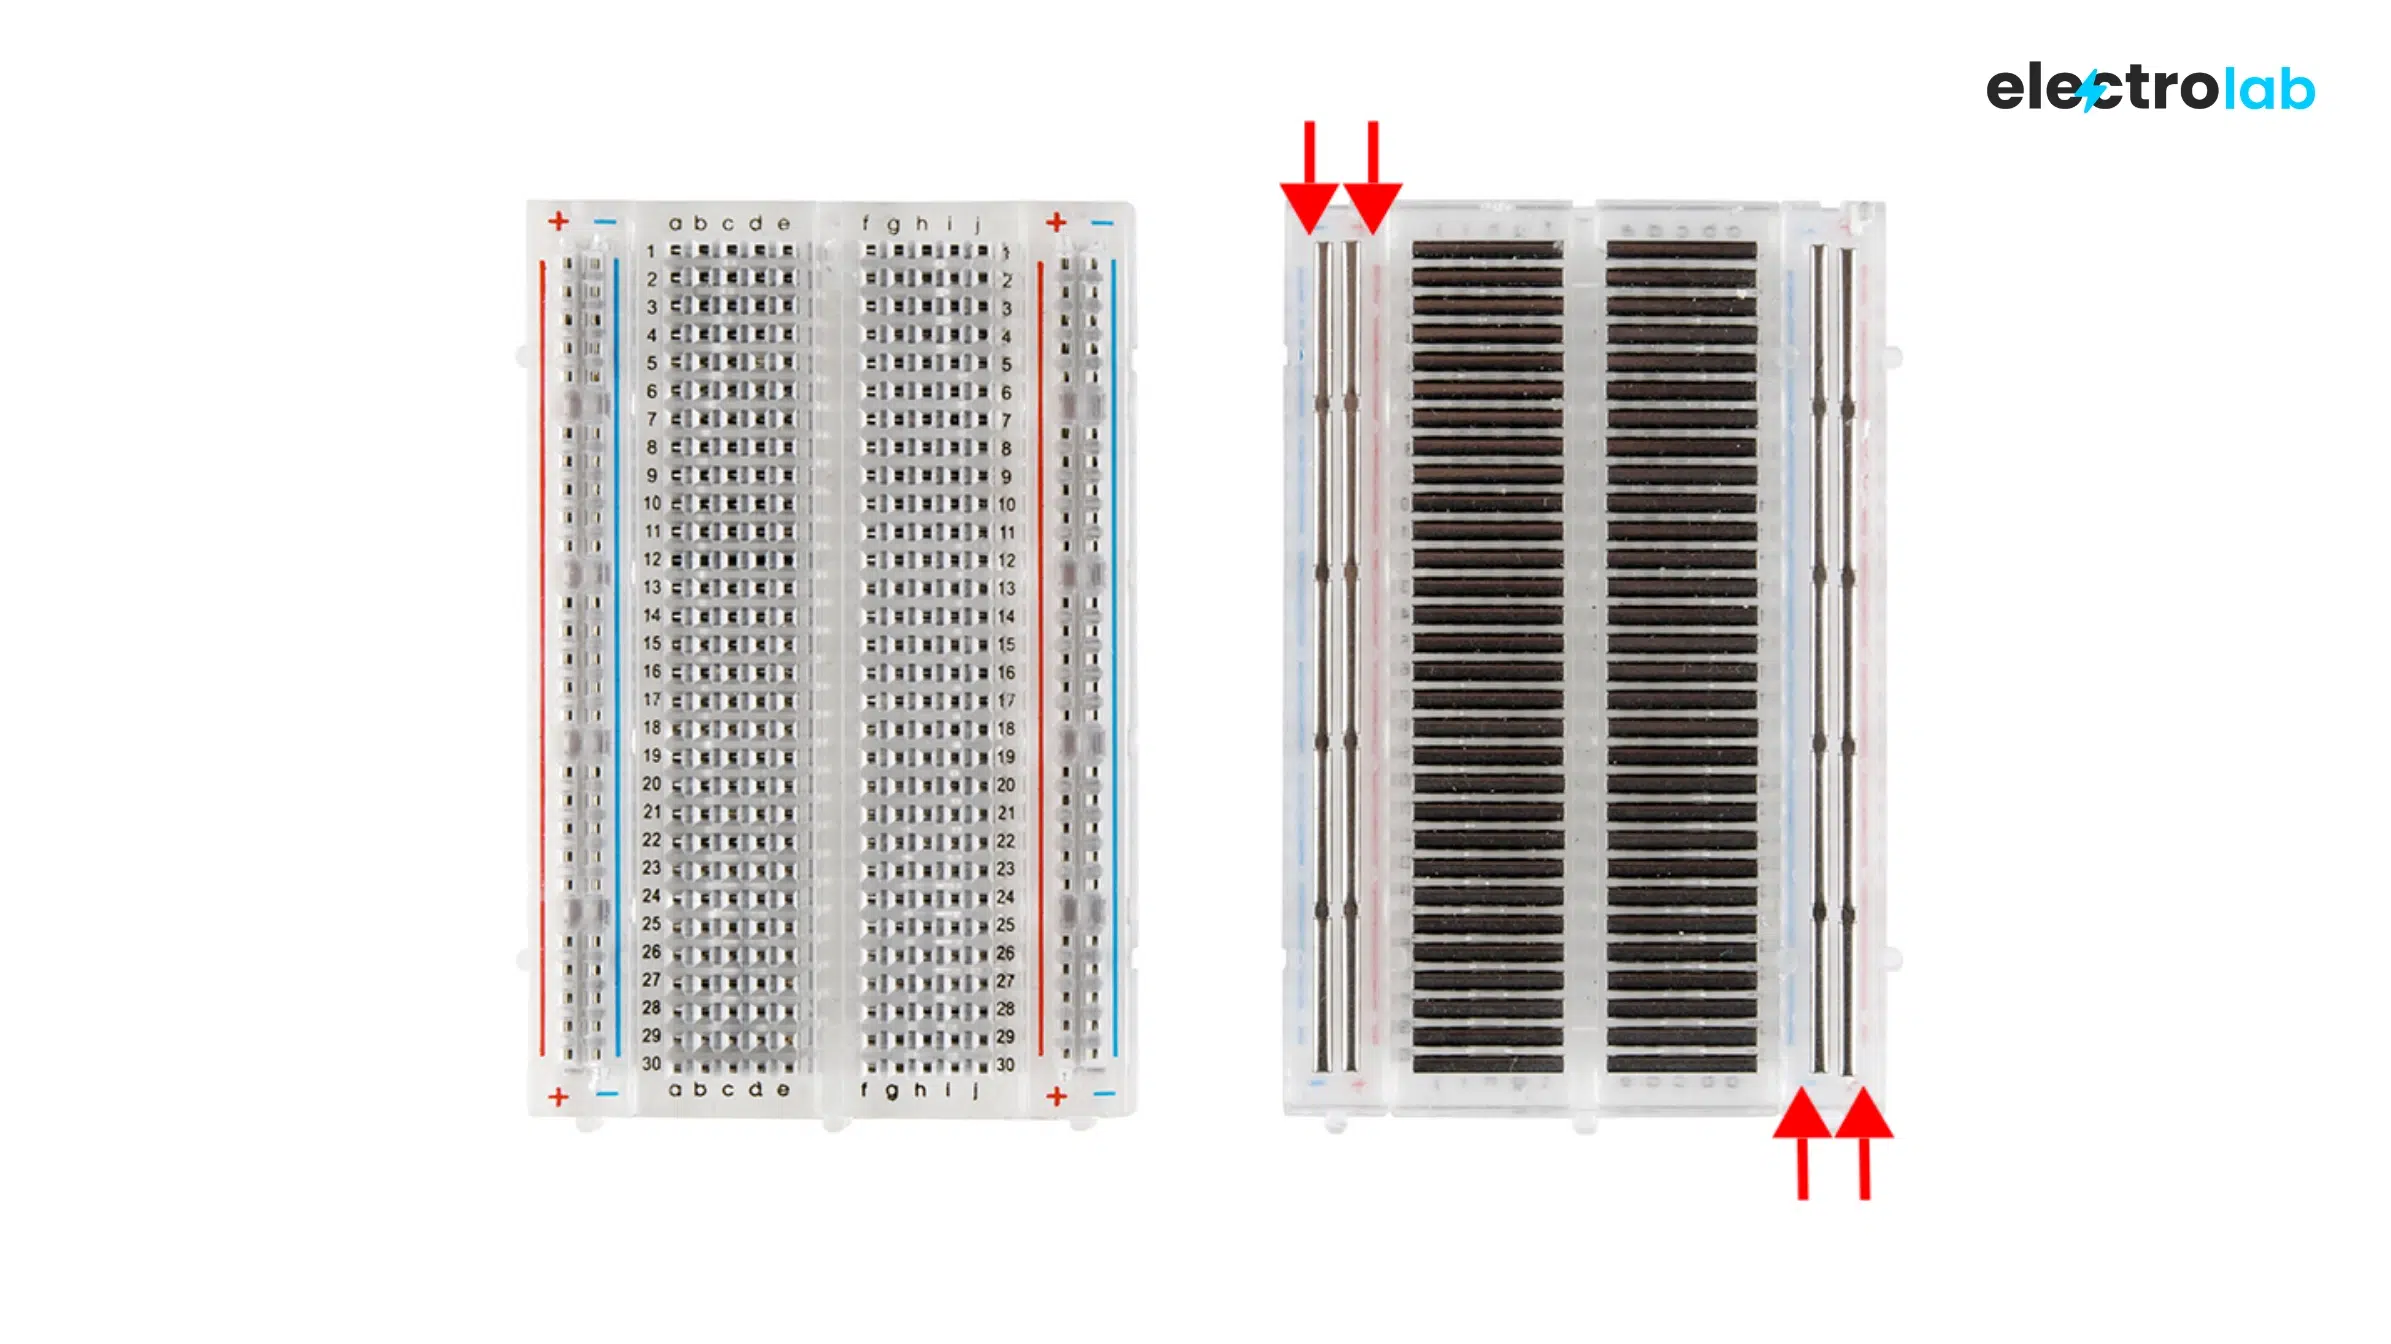
🧩 Breadboard Internal Structure
A breadboard is internally divided into:

- Terminal Strip – rows for inserting component pins
- Power Rails – columns along the edges for +VCC and –GND
- Middle Divider – isolates left and right halves; perfect for placing ICs
🔌 Internal Connection Map:
🧾 Breadboard Connection Rules
- Insert resistors and LEDs across the center gap
- Place ICs across the middle divider
- Connect power rails first using jumper wires
- Avoid overcrowding by planning layout ahead
🔍 Example Project Using a Breadboard
Test a blinking LED circuit with a:
- 9V battery
- 220Ω resistor
- Push button
- Breadboard and jumper wires
📹 Click Here to Watch Full Video
🛠️ Breadboard Troubleshooting Guide
| Problem | Possible Cause | Solution |
|---|---|---|
| No power | Loose connection | Recheck wires & battery |
| LED not lighting | Wrong polarity/burnt | Flip LED or use a new one |
| Overheating | Incorrect resistor | Use correct values |
| Unstable output | Loose jumper wires | Push wires in properly |
| Breadboard failure | Worn-out clips | Switch to a fresh board |
❌ 5 Common Mistakes to Avoid on a Breadboard
- Same Row Insertion
🔁 Mistake: Both LED/resistor legs in the same row = short
✅ Fix: Use opposite rows across center gap
- Ignoring Polarity
🔁 Mistake: Reverse polarity on LEDs/capacitors
✅ Fix: Check for + and – symbols before placing
- Overloaded Power Rail
🔁 Mistake: Too many motors/components on one rail
✅ Fix: Use multiple jumpers or external supply
- Loose Connections
🔁 Mistake: Wobbly wires = faulty circuits
✅ Fix: Firmly push in all components
- Messy Layout
🔁 Mistake: No layout plan leads to confusion
✅ Fix: Sketch or simulate circuit first
❓ Frequently Asked Questions – What is a Breadboard Used For?
Q1: What is a breadboard and why is it used?
👉 It’s used to build and test circuits without permanent soldering.
Q2: Can I use a breadboard permanently?
❌ No, they are for temporary prototyping only.
Q3: Are breadboards beginner-friendly?
✅ Yes! They’re safe, reusable, and solderless.
Q4: Can I use Arduino or Raspberry Pi with a breadboard?
✅ Absolutely — they’re perfectly compatible.
Q5: How many times can I reuse one?
👉 Hundreds of times, if used carefully without force or heat.
🏁 Final Thoughts – What is a Breadboard?
So, what is a breadboard? It’s a foundational tool in electronics — reusable, affordable, and essential for experimenting with circuits. Whether you’re learning Arduino, testing sensors, or building robots, a breadboard is your first step.
Avoid mistakes, understand types, follow connection rules, and you’ll be prototyping like a pro in no time.
