Run A Sketch In Arduino IDE – 6 Easy Steps to Upload Your First Sketch (Blink LED)
 3")
If you’re just getting started with Arduino, your first step is to run a sketch in Arduino IDE. This guide walks you through uploading your first sketch – the famous Blink LED program. It’s a simple, practical way to test your board and begin your Arduino journey.
What Is a Sketch in Arduino?
In Arduino terminology, a sketch is a program written using the Arduino Software (IDE). It’s a file with .ino extension that contains the code to control your Arduino board. Learning to run a sketch in Arduino IDE helps you understand the flow of embedded programming and makes development easier.
Why Start with the Blink Sketch?
 4")
The Blink LED sketch is the “Hello, World!” of the Arduino world. It helps you:
- Verify that the board and software are set up correctly.
- Understand how digital output works.
- Gain confidence with uploading and editing sketches.
- Learn to run a sketch in Arduino IDE effectively.
Tools You’ll Need
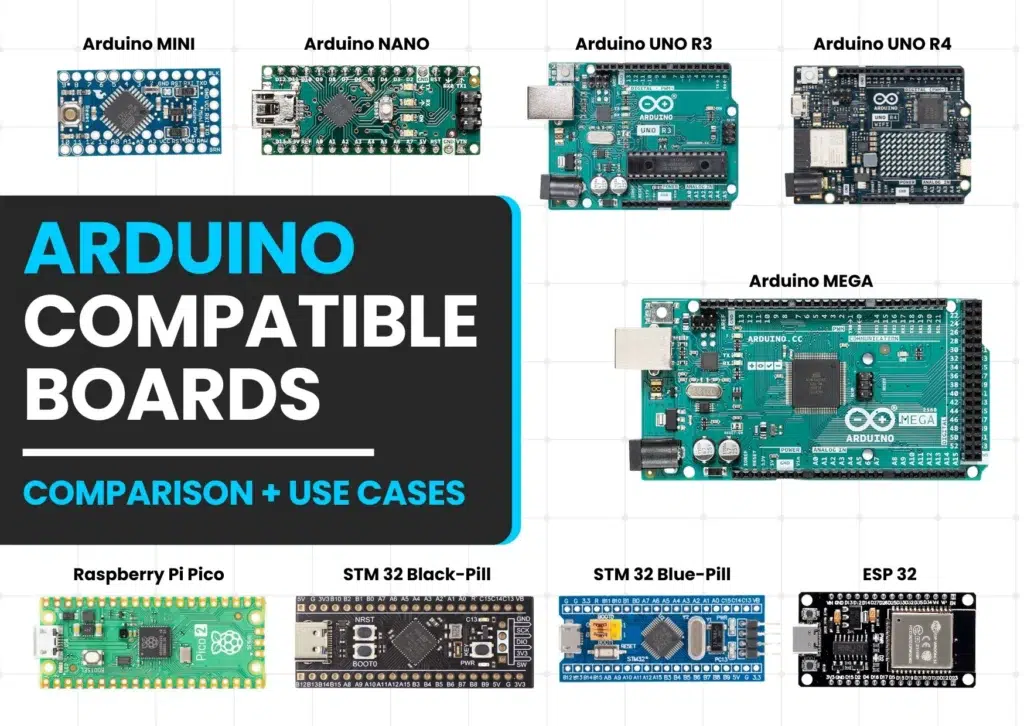
- Arduino Board (e.g., Uno, Nano, Mega)
- USB Cable (to connect the board)
- LED and 220-ohm resistor (if using external LED)
- Arduino IDE (download from official site)
Steps to Run a Sketch in Arduino IDE
Follow these simple steps to run your first sketch:
1. Install the Arduino IDE
Download and install the IDE from the Arduino official website. Choose your OS (Windows, macOS, or Linux) and follow the installation instructions.
2. Connect the Arduino Board
Use a USB cable to connect your Arduino board to your computer. The green power LED on the board should light up.
3. Launch the Arduino IDE
Open the Arduino IDE. You’ll see a basic sketch structure:
void setup() {
  // runs once
}

void loop() {
  // runs repeatedly
}
This is the default template that every sketch follows when you run a sketch in Arduino IDE.
4. Open the Blink Sketch
Go to:
File > Examples > 01.Basics > Blink
This opens the Blink sketch. Here’s what it looks like:
void setup() {
  pinMode(LED_BUILTIN, OUTPUT);
}

void loop() {
  digitalWrite(LED_BUILTIN, HIGH);
  delay(1000);
  digitalWrite(LED_BUILTIN, LOW);
  delay(1000);
}
5. Select the Board and Port
From the menu:
- Go to
Tools > Boardand choose your board (e.g., Arduino Uno). - Go to
Tools > Portand select the COM port connected to your board.
💡 If unsure which port is correct, unplug and replug the board to see which port disappears and reappears.
6. Upload the Sketch
Click the Upload button (right arrow icon) or go to:
Sketch > Upload
Wait for the “Done Uploading” message. Once done, you’ve learned to run a sketch in Arduino IDE successfully.
What Happens Now?
The onboard LED (usually on pin 13) starts blinking every second – one second ON, one second OFF. 🎉 You’ve successfully run a sketch in Arduino IDE!
Troubleshooting Tips
- No Port Detected: Try a different USB cable or port.
- Upload Error: Check that the correct board and port are selected. (Check Updates of Arduino IDE if you are facing any issue.)
- LED Not Blinking: Try a different board or load another sketch to test.
These tips will help if you face issues when trying to run a sketch in Arduino IDE.
 5")
Alt text: Uploading your first sketch in Arduino IDE – LED Blink Example
Frequently Asked Questions (FAQs)
1. What is the purpose of the Blink sketch in Arduino?
The Blink sketch is a beginner-friendly way to test your Arduino board. It teaches basic syntax, pin control, and sketch uploading.
2. Can I use an external LED for the Blink sketch?
Yes! Connect the anode (long leg) of the LED to pin 13 through a 220-ohm resistor, and the cathode (short leg) to GND.
3. What should I do if my sketch won’t upload?
Check your USB connection, ensure the correct board and port are selected, and try restarting the Arduino IDE.
4. Do I need to install drivers for Arduino boards?
Some boards like Arduino Uno auto-install drivers, while others may require manual driver installation. Check the manufacturer’s documentation.
5. How can I modify the Blink sketch timing?
Change the delay(1000) value to something else. For example, delay(500) will make the LED blink every half-second.
Conclusion
Running your first sketch in Arduino IDE is a crucial milestone. The Blink LED sketch gives you a solid introduction to how Arduino works and prepares you for more advanced projects. Once you’re comfortable, try modifying the delay or blinking patterns to learn more.
The ability to run a sketch in Arduino IDE efficiently will serve you well as you explore sensors, actuators, and complete automation systems. Keep experimenting!


My brother suggested I might like this website.
He was entirely right. This post truly made my day.
You can not imagine simply how much time I had spent for
this information! Thanks!