Arduino Hardware Overview – A Powerful Beginner’s Guide (2025)
 2")
If you’re just getting started with electronics and embedded systems, understanding the Arduino hardware overview is a crucial first step. This guide breaks down the key components that make up an Arduino board, so you can confidently begin your DIY projects or dive deeper into coding microcontrollers.
📌 What is Arduino?
Arduino is an open-source electronics platform based on easy-to-use hardware and software. It consists of programmable circuit boards (microcontrollers) and an integrated development environment (IDE) for writing and uploading code.
Whether you’re an absolute beginner or moving from theory to practical applications, Arduino gives you the power to prototype electronics quickly and affordably.
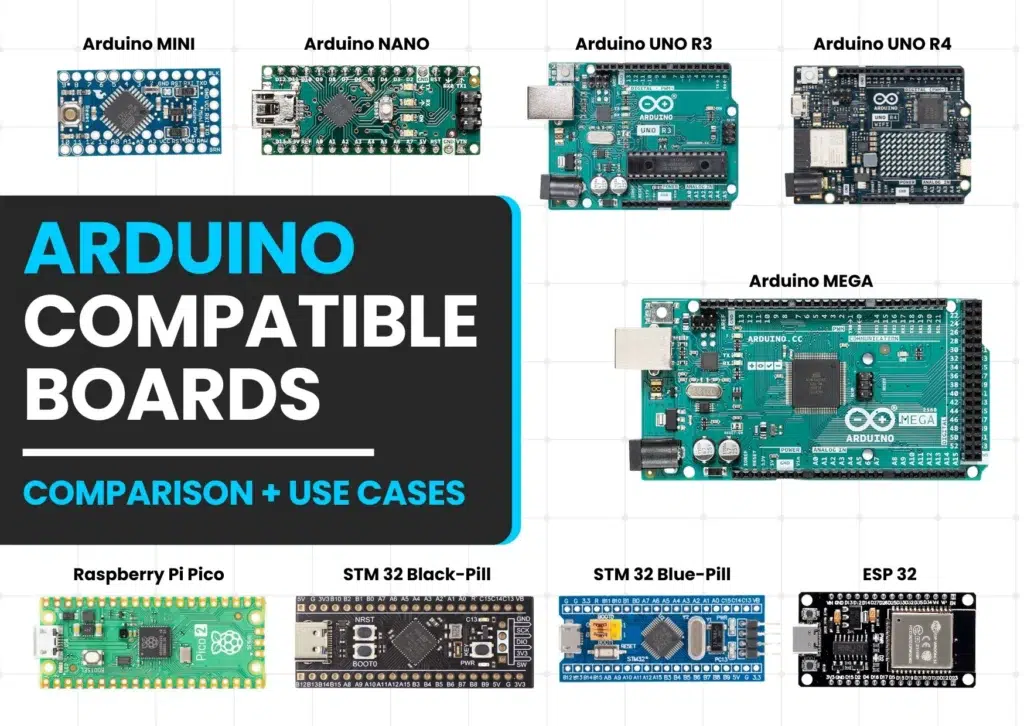
🔗 Related Read: Introduction to Arduino: A Beginner’s Guide
🧩 Arduino Hardware Overview: The Essentials
Let’s break down the key components of Arduino hardware that make this platform so powerful yet beginner-friendly. This Arduino hardware overview will give you everything you need to start building interactive projects.
1. Microcontroller (MCU)
At the heart of every Arduino board is a microcontroller, like the ATmega328P in Arduino Uno. This tiny chip is responsible for processing data and executing instructions.
 3")
👉 Tip: Think of the microcontroller as the “brain” of your Arduino board.
2. Digital I/O Pins
Arduino Uno has 14 digital input/output pins, which can be used to read digital signals or control devices like LEDs, buzzers, and more.
- Pins 0–13 (can be used for digital read/write)
- Some of these pins support PWM (Pulse Width Modulation)
3. Analog Input Pins
There are 6 analog input pins (A0–A5) that read varying voltage levels (0–5V) and convert them into digital values using the onboard ADC (Analog to Digital Converter).
4. Power Supply and Voltage Regulator
Your Arduino can be powered via:
- USB connection
- External power jack
- Vin pin (7–12V recommended)
The voltage regulator ensures your board gets the right amount of power without frying any components.
5. Crystal Oscillator
Most Arduino boards come with a 16 MHz crystal oscillator, which keeps everything running at the correct speed—like a system clock.
6. USB Interface (ATmega16U2 on Uno)
This acts as a bridge between your computer and the microcontroller, allowing you to upload code through the Arduino IDE.
7. Reset Button
Pressing the reset button restarts your Arduino board. Super handy during development and testing!
🔌 Additional Components You Should Know
- TX/RX LEDs: Show serial communication activity
- ICSP Header: For low-level programming
- Power & GND Pins: Provide 5V/3.3V and ground reference
All of these play key roles in a functioning setup and form part of a solid Arduino hardware overview for anyone starting out.
🛠️ Deep Dive: How Each Component Works Together
Let’s take a moment to understand how all these hardware elements interact in a real-world scenario. This deeper Arduino hardware overview shows how code, power, and physical components work in harmony.
When you write a sketch (program) in the Arduino IDE and hit upload, the USB interface transfers your code to the microcontroller. The crystal oscillator ensures that operations run at precise intervals. Once the code is uploaded and the board is powered (via USB or an external source), the microcontroller begins executing your code.
Let’s say you’re blinking an LED connected to Digital Pin 13. The microcontroller uses that pin’s state (HIGH/LOW) to send voltage on and off, causing the LED to blink. If you connect a temperature sensor to Analog Pin A0, the microcontroller reads the analog voltage, converts it to digital via the ADC, and stores the data in memory to be processed or displayed.
This seamless process is what makes the Arduino hardware overview so important — it bridges hardware understanding with coding capability.
⚙️ Common Arduino-Compatible Components
Expanding your Arduino with extra components helps unlock its full potential. Here are a few beginner-friendly add-ons:
- Sensors: Temperature, humidity, light, motion (PIR), ultrasonic distance
- Actuators: Motors, servos, buzzers
- Displays: OLED, LCD, 7-segment displays
- Communication Modules: Bluetooth (HC-05), WiFi (ESP8266), RFID
- Storage Modules: SD card module for logging data
These components connect to various I/O pins, which is why a strong understanding of the Arduino hardware overview is so essential. Without this knowledge, you may end up misusing a pin or damaging your circuit.
🔧 Troubleshooting Hardware Issues
Sometimes things don’t work as expected. If you’ve gone through this Arduino hardware overview and still face issues, here are a few quick tips:
- Board Not Recognized? Check the correct COM port and board selected in the Arduino IDE.
- LED Not Blinking? Verify your circuit connections and whether the correct pin number is used in code.
- Sensor Not Responding? Double-check power pins and ensure you’re using analog/digital pins correctly.
- Overheating? You might be powering your Arduino with excessive voltage – stick to the recommended 7–12V.
📚 Arduino Learning Resources
- Basic Electronics Roadmap – A Beginner’s Guide
- Intermediate Electronics Roadmap – 7 Steps to Advance
- What is Electricity Voltage Current and Resistance – Beginner’s Guide
- Advanced Electronics Roadmap – Master Circuit Design, Embedded Systems, and AI
✅ Conclusion
Whether you’re a beginner or a tinkerer upgrading your skills, this detailed Arduino hardware overview has equipped you with everything you need to move from blinking LEDs to building smart automation.
Understanding the structure, layout, and role of each component on your Arduino board gives you the confidence to experiment and innovate.
Now that you know what’s under the hood, go ahead and start building something awesome with your Arduino!
Extranal Sources
- Arduino Official Webpage Link.


